Increase productivity at the roll shop and in the production line with portable, instant 3D surface analysis
Our handheld device can measure even the most hard-to-reach places, producing an accompanying digital scan in seconds. Our 3D imaging catalogs surface texture down to the micron level, removing uncertainty and guesswork about defects.
What does that look like in practice? Here's an example.
Here's another: at a recent on-site visit, GelSight VP Thierry Mantel used GelSight Max to take 100 scans on different metal parts in the span of 3 hours, measuring profile roughness and surface roughness. According to the company he visited, that work would have taken 340 hours using a confocal microscope, which is the tool they were using before GelSight.
See GelSight in Action
Watch: Introducing GelSight Max
Watch: Improved Defect Detection
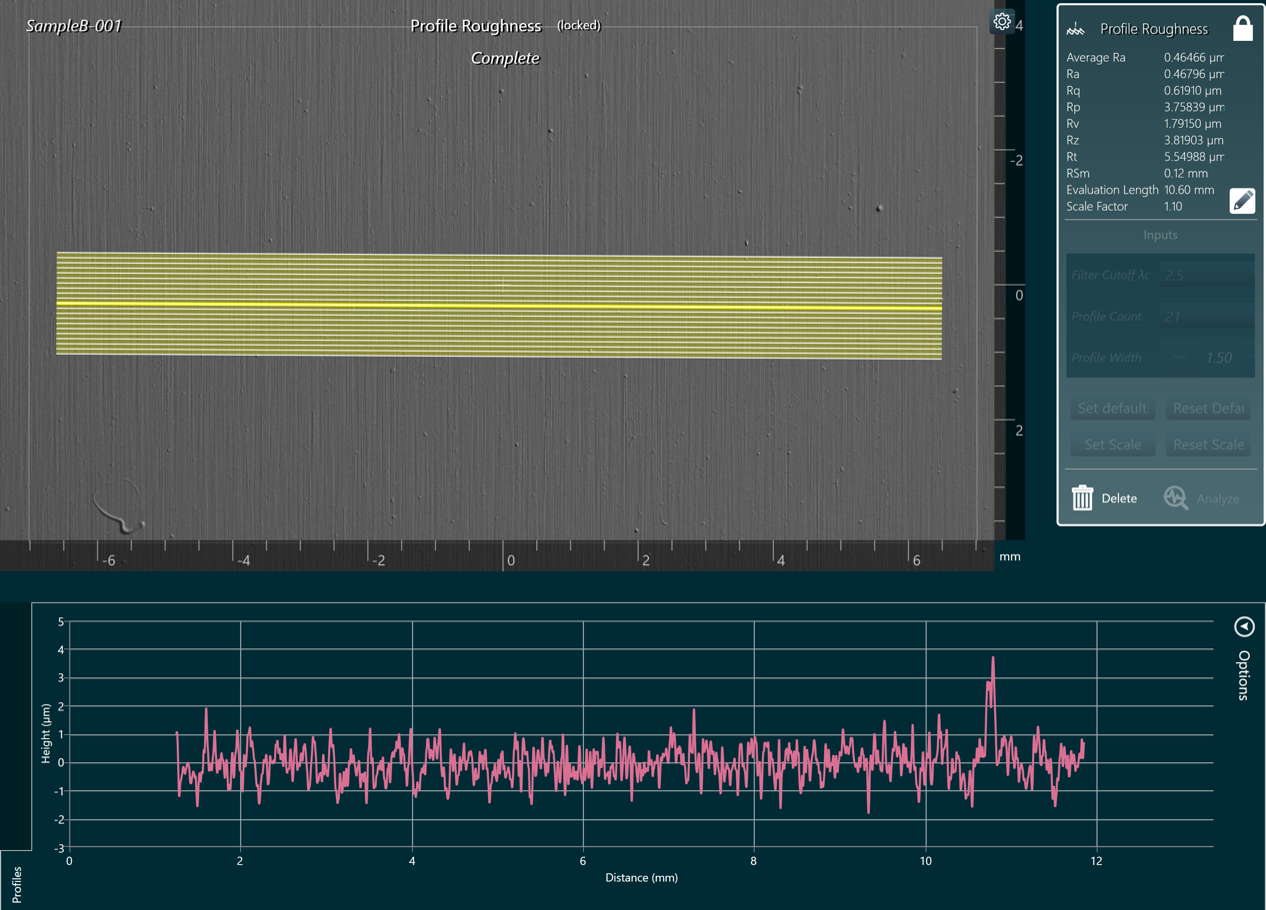
Surface Quality Control of Mill Rolls
Surface finish of mill rolls is essential to ensure the transfer of the desired surface finish or texture to the rolled sheet. Average roughness, peak and waviness are each components of surface texture that directly influence the characteristics of a rolled sheet. GelSight Max allows manufacturers to take measurements of mill rolls right on the shop floor, removing the need to visit a lab. Our imaging technology also creates an accompanying 3D digital scan in seconds, significantly reducing the amount of time it takes to perform quality inspection.

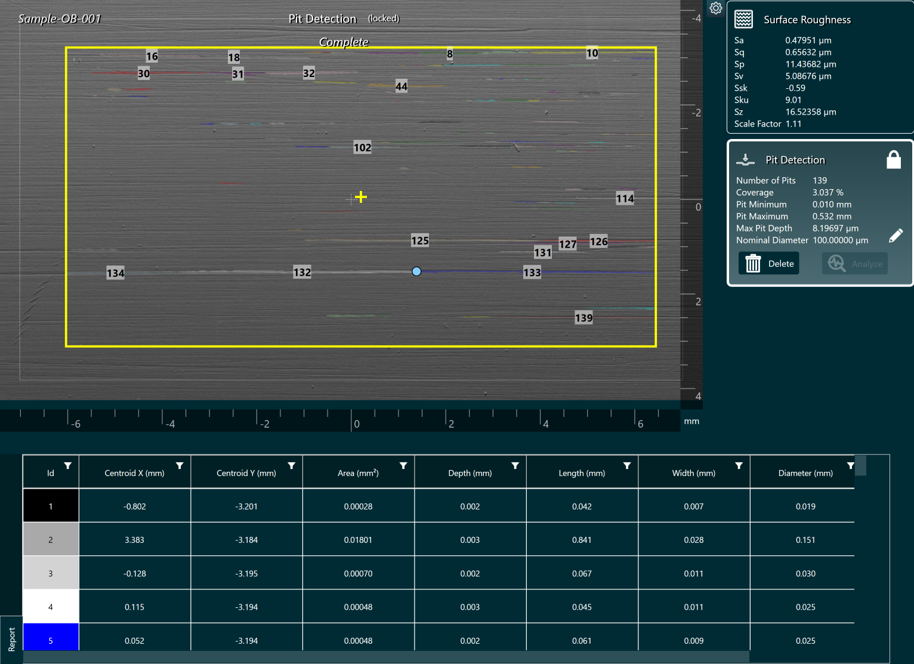
Surface Anomalies in Cold Rolling Process

Particle detection and pit detection are critical considerations during the cold rolling process. If a particle is present on the ingot as it moves through the roll, that will create a positive defect on the sheet of metal. If a particle is present on the roll as the ingot moves along, that will create a pit on the sheet during its processing. In both instances, sheet metal will be marked by the roll at each revolution, leading to defects and potential rejection of the roll. With GelSight, it takes just a few seconds to scan the equipment and ensure that there aren't anomalies that will result in scrap.
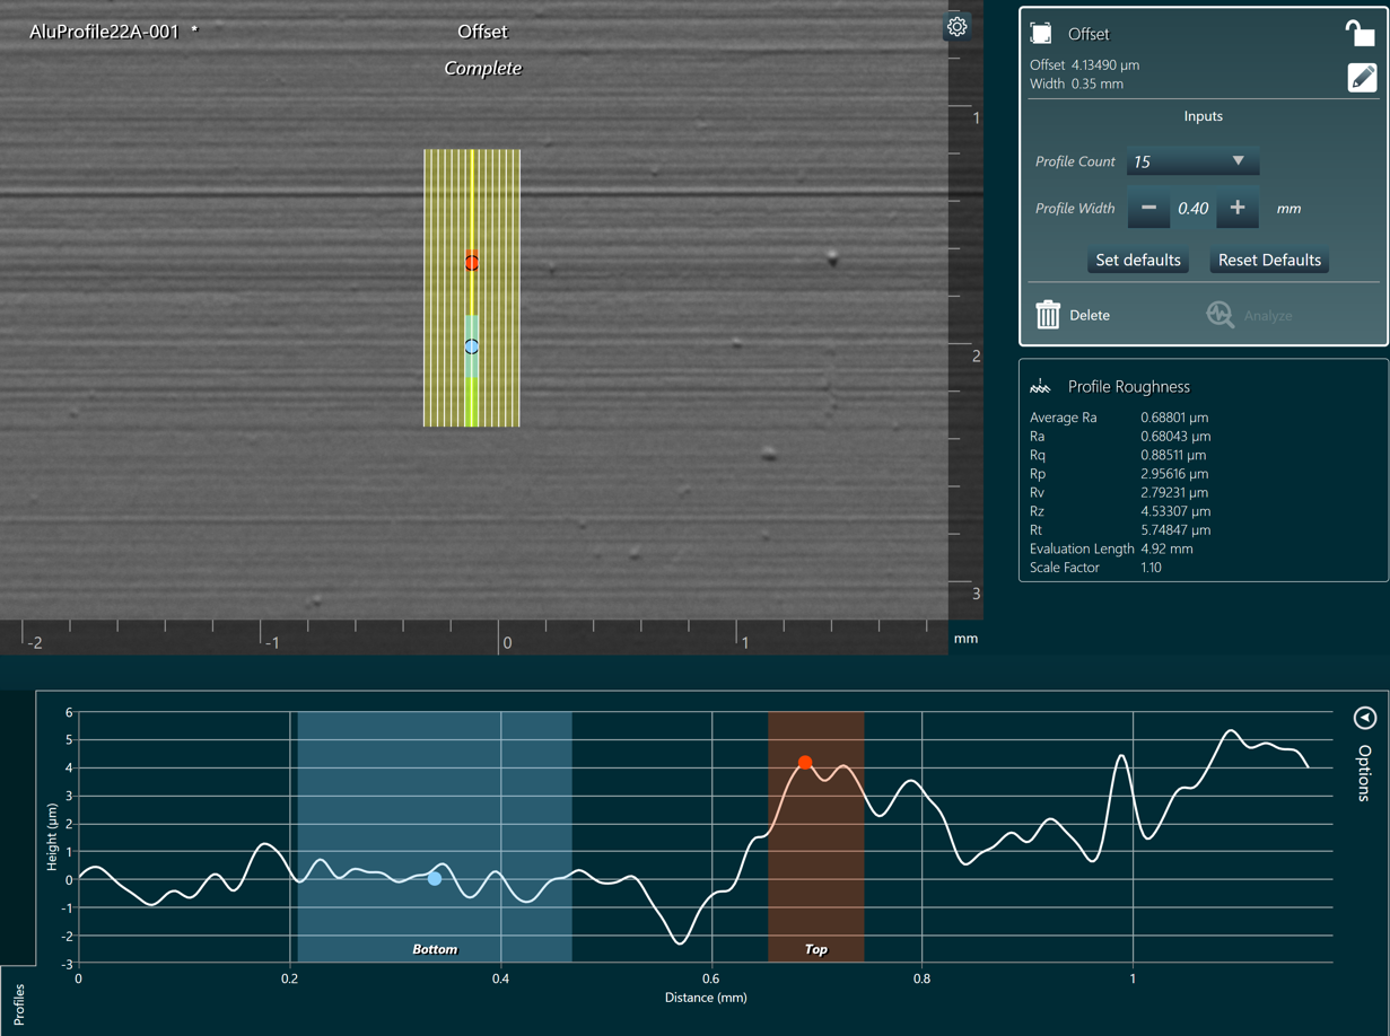
Surface Anomalies in Metal Extrusion
Even the smallest defects can generate costly, time-consuming problems during a metal extrusion process. If the die being used contains micro defects, those can create marks on the extruded profile, potentially leading to the scrap of an entire production batch. Sometimes, blemishes on the die are so minor that they're barely visible to the naked eye. Our technology makes evaluation quick, easy and repeatable, delivering micron-level measurements that provide a comprehensive picture of the targeted area as well as local analysis.

Applications

Scratch and dent measurement

Early corrosion characterization

Surface defect detection

XYZ dimensional measurements

Roughness measurement

Pit detection

Hole measurement

Shot peen analysis

